Article Read Time - 2 Mins
Share
Make Your Own Clarifying Shampoo
Table of Contents
When it comes to hair care products clarifying shampoo has become a buzz phrase over the last year. There is has been so much more focus on health and that goes for our hair health as well. Today I am going to tell you all about clarifying shampoo as well as to create it your self. All natural and cost saving, double win. Explore our other haircare options to match your clarifying shampoo. So keep reading Cliphair's step-by-step tutorial and don’t forget to #wearcliphair when you are showing off your gorgeous shampoo.
What Is Clarifying Shampoo?
Before we move on to the tutorial it is important to let you know what clarifying shampoo is and what you will gain from it. Clarifying shampoo is specifically designed to remove stubborn build up. Build up can be of styling products with silicones, waxes, oils and artificial chemicals. It is super important that you get rid of these things carefully but thoroughly so that you maintain hair and scalp health. It is also super important to keep your Cliphair hair extensions in good condition so that they last longer.
DIY Clarifying Shampoo Tutorial

Step Number 1: Gather Your Materials

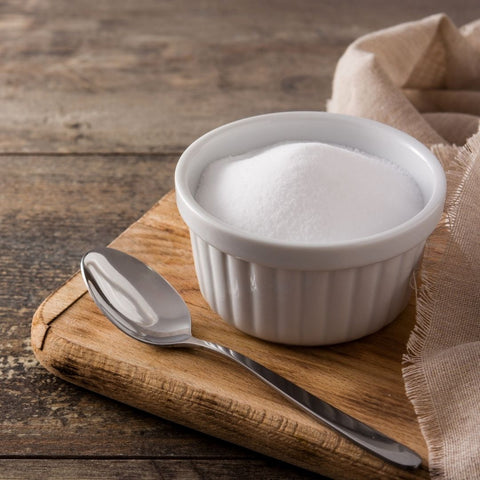
To begin you definitely need to make sure that you have everything that you need. As with many naturally based products, you may already have some things in your kitchen and the rest of the things you will be able to get easily. These ingredients have loads of natural benefits and also help you fight dandruff. All you need for this DIY shampoo is apple cider vinegar and baking soda.
Step Number 2: Put Your Ingredients Together

So this is super easy. Make sure that you have a bowl so you can mix them together and the final product (excuse the pun) will be lump free. First of all, put 1 tablespoon on apple cider vinegar into your bowl. This may smell but don’t worry it won’t make your hair smell at all. Now add 2 cups of warm water into your bowl. Finally, add your 1 tablespoon on baking soda. The way that I feel it works the best is if shake it in little by little as you whip it in.
Step Number 3: Application

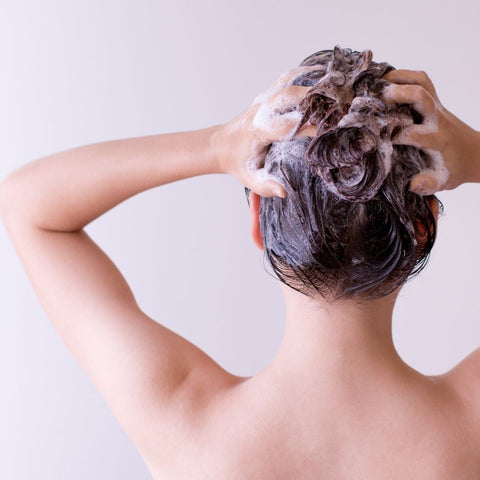
Clarifying shampoos are super easy to apply and take next to no time. Once your hair is wet massage it into your hair and scalp as you would do with shampoo. I leave it on for about 5 minutes so everything can really sink in before I rinse it out and repeat 1 more time.
That is it! I would recommend a really nourishing conditioner the lower half of your hair as this is where your hair will become the driest. You should repeat this once or twice a week to get the most healthy hair that is build up free and maintains the ph balance of your scalp.
Conclusion
Crafting your own clarifying shampoo offers a personalized solution for maintaining healthy and vibrant hair. With Cliphair's range of hair care products, including natural ingredients for DIY shampoos, you can easily achieve salon-quality results at home. Take control of your hair care routine and discover the benefits of homemade clarifying shampoo with Cliphair.
FAQs
What ingredients do I need to make my own clarifying shampoo?
You can make your own clarifying shampoo using simple ingredients like baking soda, apple cider vinegar, and essential oils. These natural ingredients help remove product buildup and impurities from the hair, leaving it clean and refreshed.
How often should I use homemade clarifying shampoo?
It's recommended to use homemade clarifying shampoo once a week or as needed to remove buildup and restore hair's natural shine. However, individuals with dry or chemically treated hair may want to use it less frequently to avoid stripping natural oils.
Can homemade clarifying shampoo be used on coloured or treated hair?
While homemade clarifying shampoo can be used on coloured or treated hair, it's essential to be cautious, as some ingredients like baking soda and vinegar may strip colour or cause dryness. Consider patch testing and consulting with a professional stylist before use.
Looking for flawless, salon-worthy hair without breaking the bank? At Cliphair, we’ve got you covered with luxurious clip in hair extensions for quick transformations and permanent hair extensions for long-lasting glam. Extensions require special care and maintenance to preserve their quality, which is why we have all the top-notch hydrating haircare products needed to keep your style on point.
Need the perfect shade? Browse our full range of human hair extensions in over 70 rich, silky shades or check out our FREE Express Colour Match Service to ensure a seamless blend every time.

EXTENSIONS BIBLE

HAIR CARE & TIPS

OUR TOP TRENDS

STYLING GUIDES & TUTORIALS

WEDDING & OCCASION HAIR

LIFESTYLE & POP CULTURE
Latest Articles

The Ultimate Night Time Hair Routine
The Ultimate Night Time Hair Routine

Should You Wash Hair Extensions Before Using Th...
Should You Wash Hair Extensions Before Using Th...


