Your Cart is empty

The Cliphair Blog


Trending On Cliphair

MAR 6, 2021
12 MIN READ
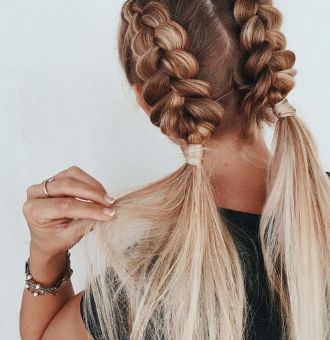
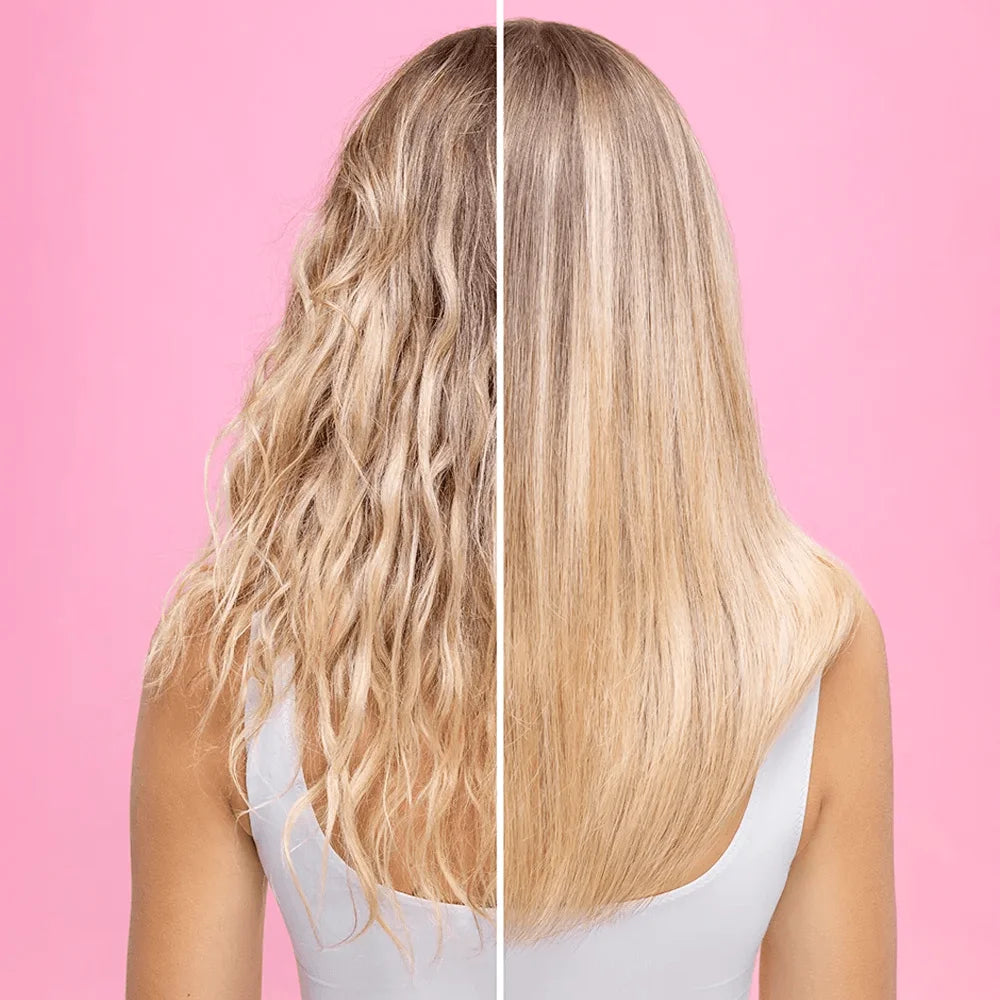
Best Hair Extensions for Thickness (Fine & Thin Hair Solutions)

AUG 4, 2021
4 MIN READ
Everything about seamless hair extensions

JUN 14, 2022
4 MIN READ
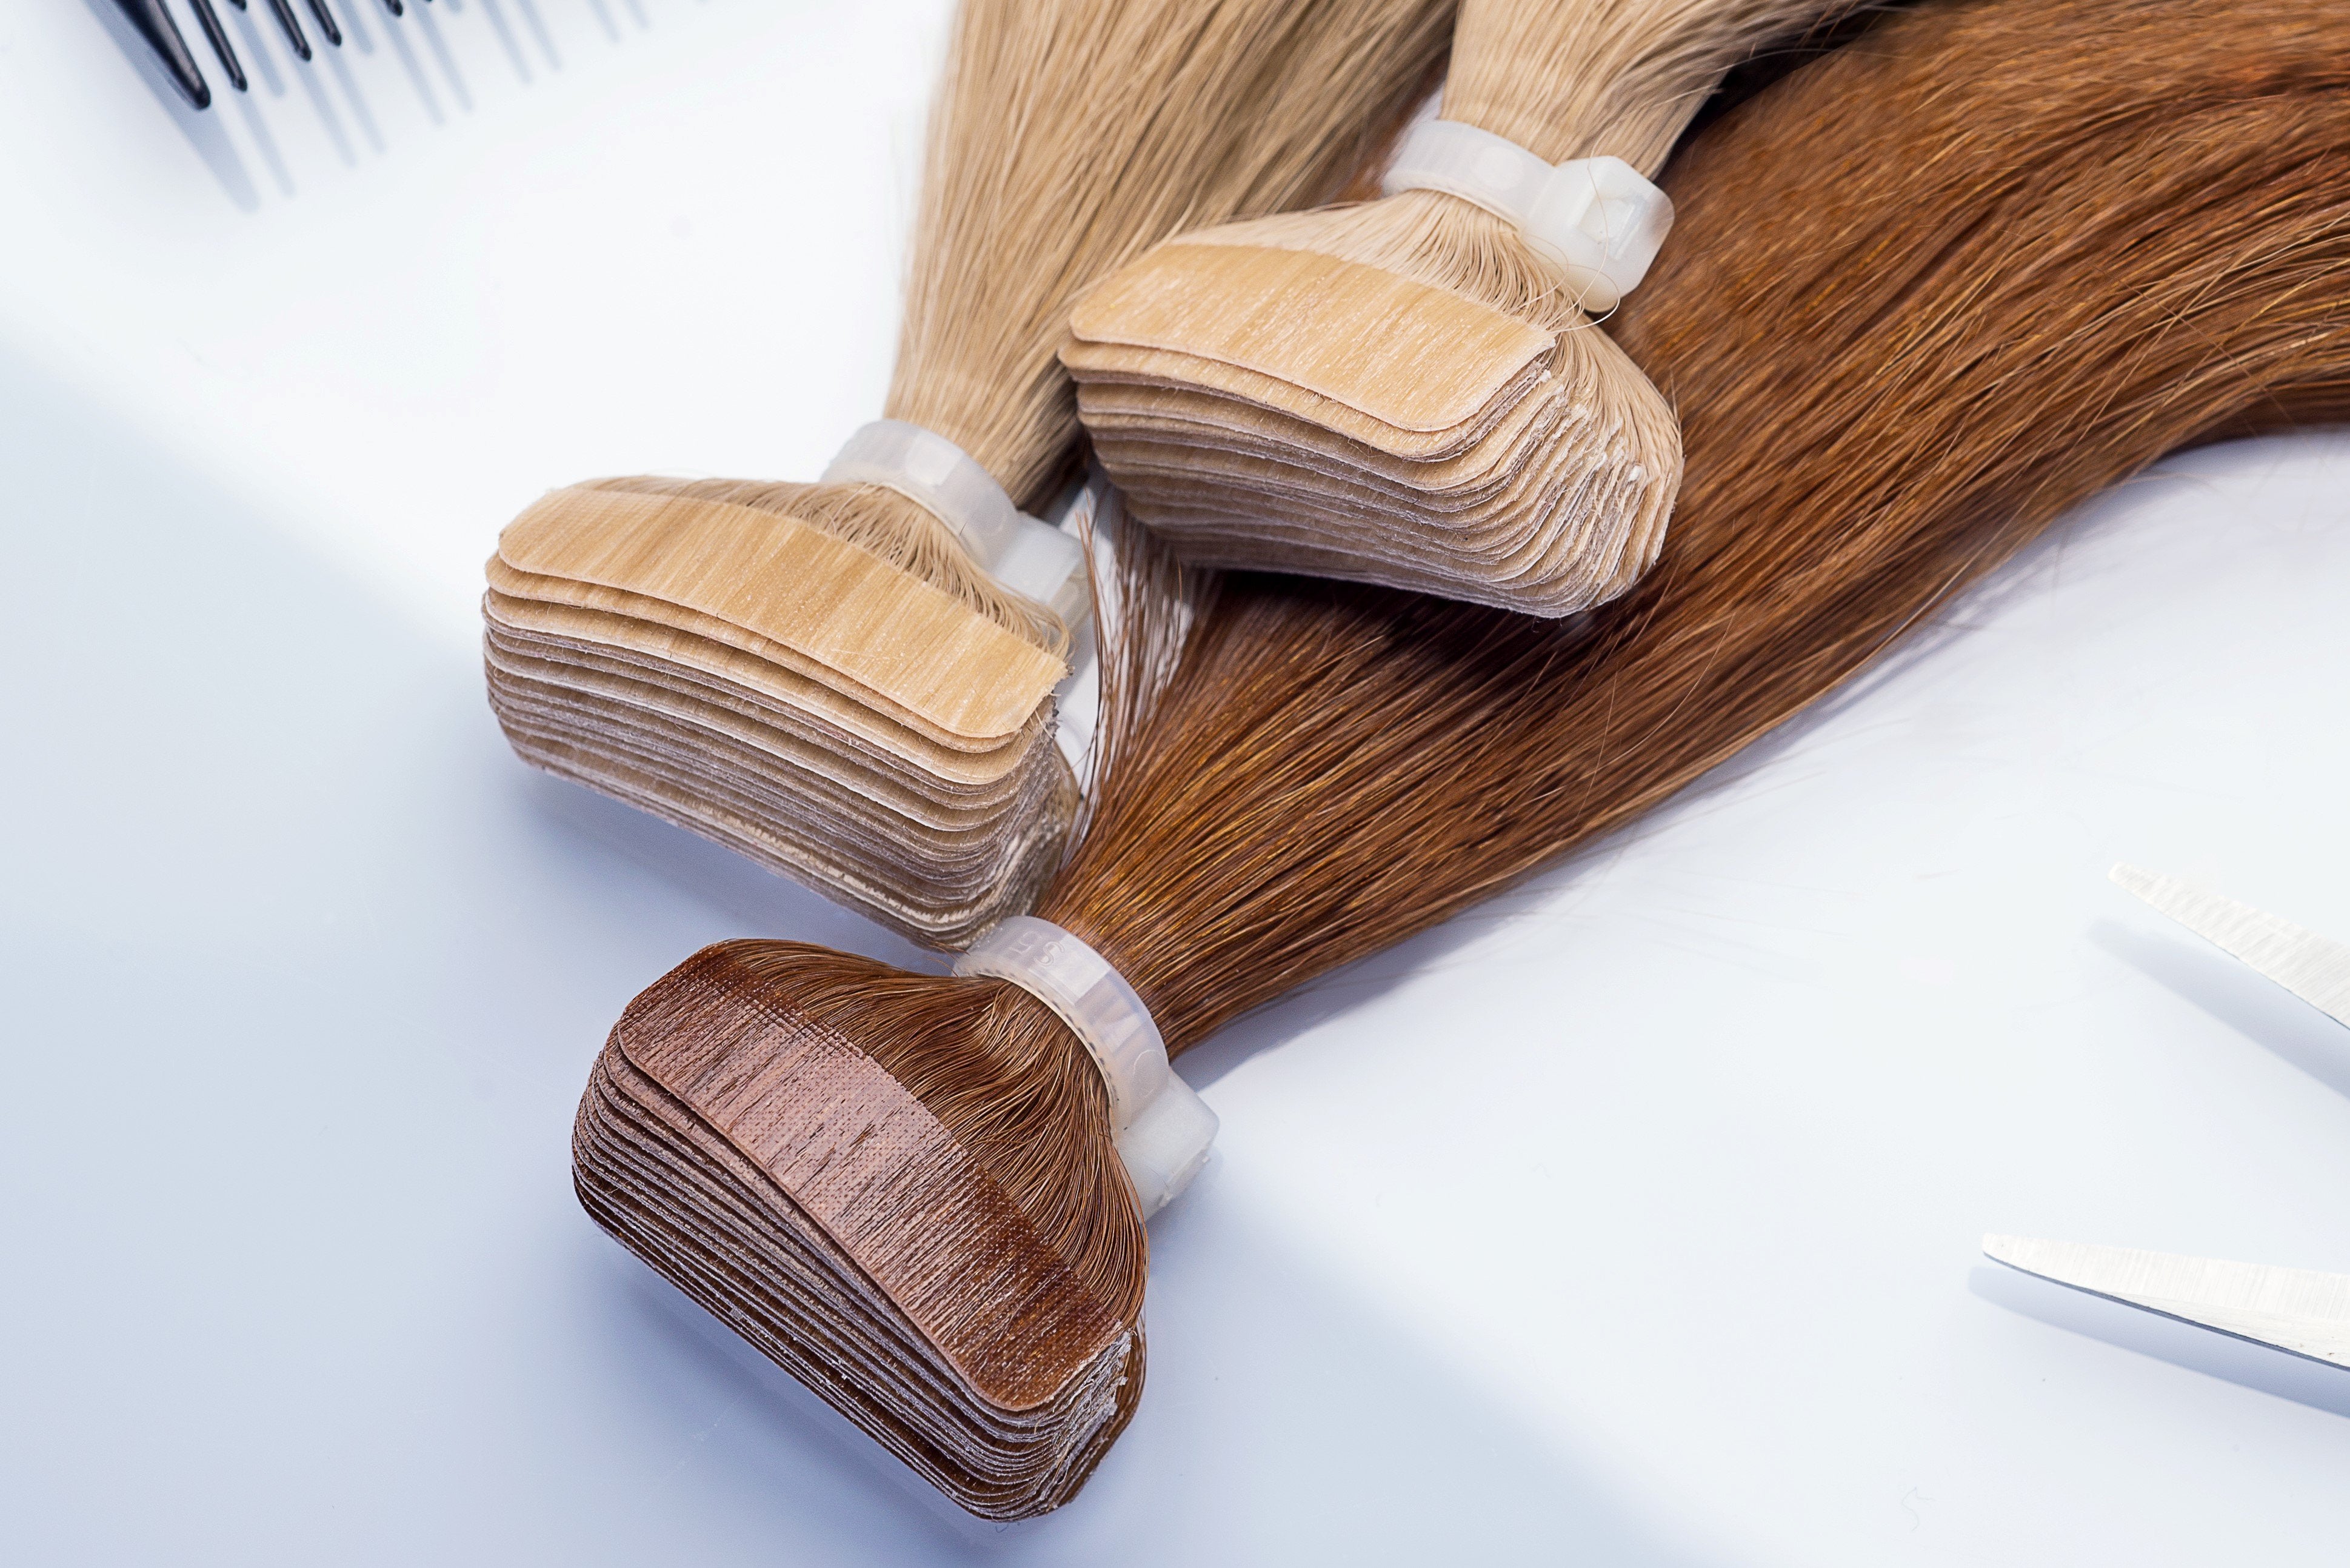
How Many Grams Of Hair Extensions Do I Need?

DEC 3, 2021
7 MIN READ
How to Choose the Perfect Length of Hair Extensions for you
JUL 1, 2021
15 MIN READ
Everything You Need to Know About Tape Hair Extensions
Our Latest


Bridal Blogs

MAY 10, 2023
Brides Wear Cliphair: Bridal Hollywood Waves Hairstyle Guide

MAY 10, 2023
Brides Wear Cliphair: Bridesmaids Hairstyle Guide

MAY 10, 2023
Brides Wear Cliphair: Mother Of The Bride Hairstyle Guide

APR 21, 2023
10 Bridesmaids Proposal Ideas 2023

APR 25, 2023
How To Plan A Wedding Like A True Pro

APR 19, 2023
How To Dress Up A Bob Hairstyle For A Wedding

APR 13, 2022
4 MIN READ
10 Adorable Flower Girl Hairstyles For Your Little Ones

APR 14, 2024
10 Elegant Mother Of The Bride Hairstyles

MAR 22, 2022
5 MIN READ
10 Stunning Bridesmaids Hairstyles For Your Best Friends

MAR 16, 2022
7 MIN READ
Guests In Style: 10 Gorgeous Wedding Guest Hair Ideas

FEB 25, 2022
4 MIN READ
How Hair Extensions Can Provide the Perfect Wedding Style

MAR 11, 2022
4 MIN READ
The Truth Behind Pre-Wedding Stress

MAY 5, 2023
Yes, I do: 10 Celebrity Wedding Hairstyles For This Season

AUG 4, 2022
5 MIN READ
Bridal Stylist Awards: 2022 Winners & More
All Blogs